
The problem that starts small
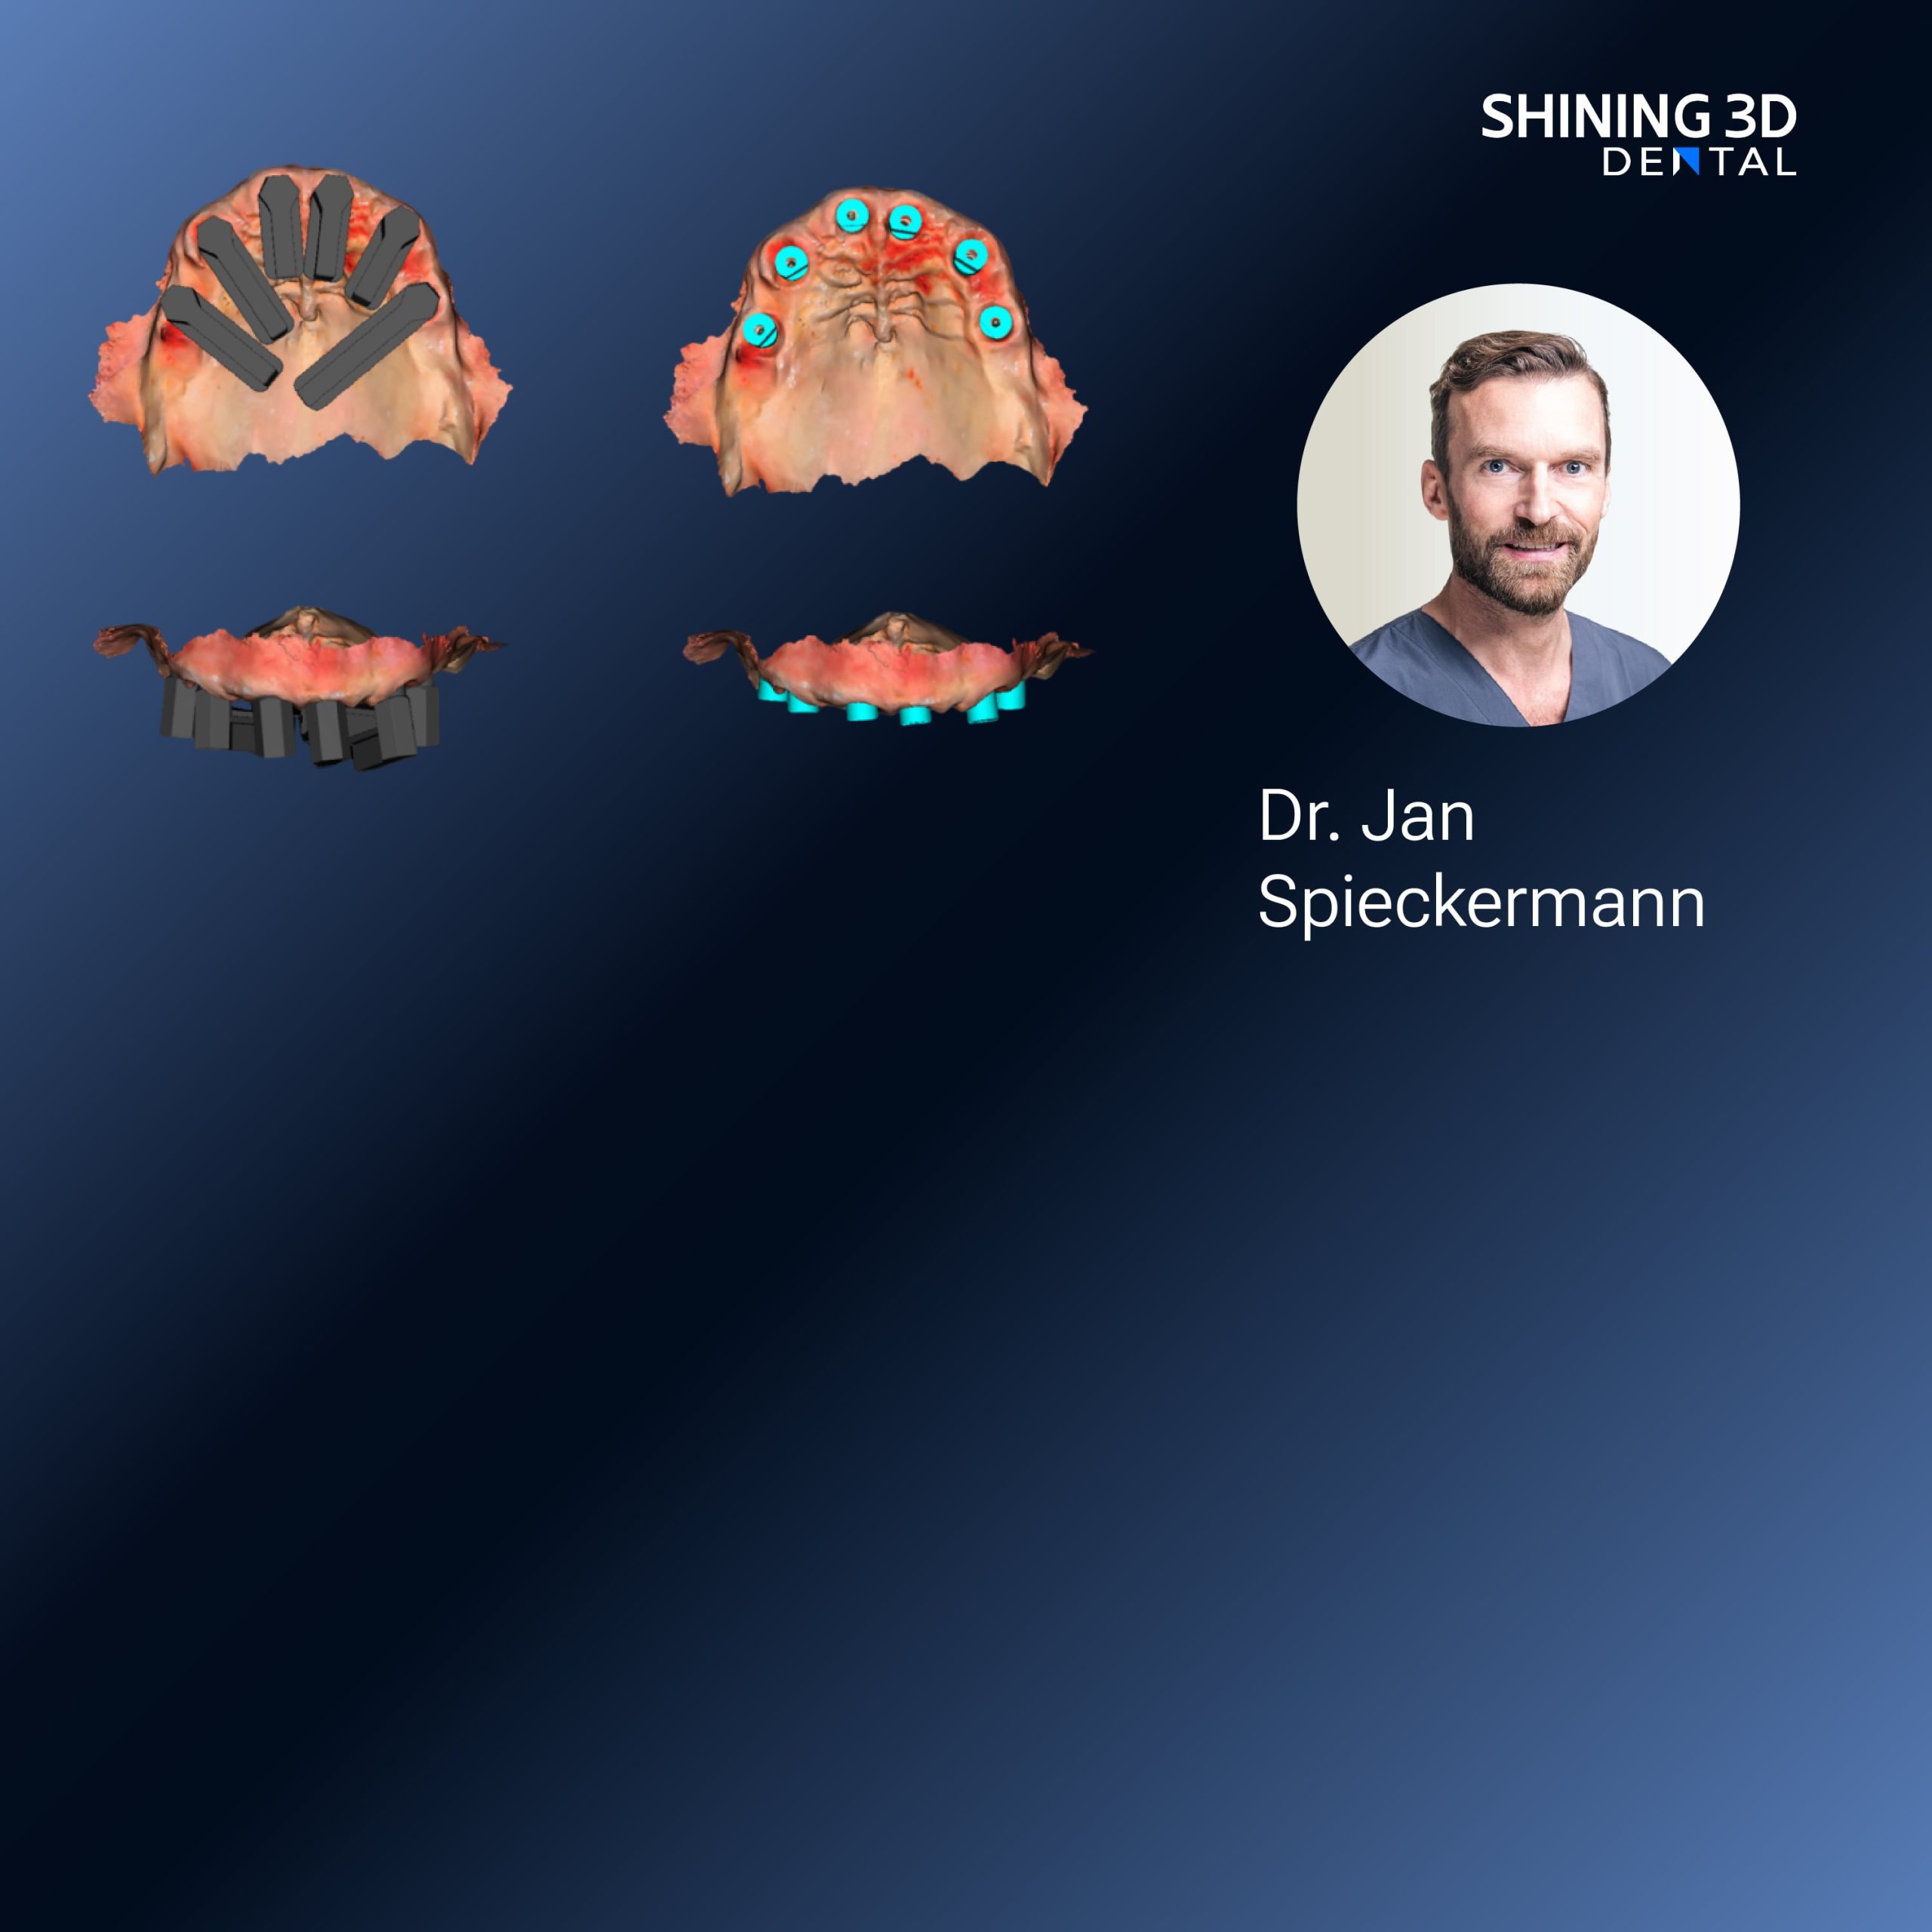
Clinics adopt digital tools to reduce guesswork, yet tiny mismatches still derail cases. A calm, clear diagnosis helps: misfits, delayed seating, and remakes usually trace back to a handful of predictable failures—scanning gaps, alignment drift, material shrinkage, and inconsistent post-processing. I’ve seen this pattern across private practices and lab networks, and at IDS Cologne those issues were discussed on demonstration stages alongside advances in a resin 3d printer dental, which many labs now use to tighten fit and speed delivery.
Where accuracy actually fails
Begin by isolating the weak link. Intraoral scans mask soft-tissue movement. Implant analogs shift during model fabrication. Printing layers cure unevenly without controlled light and temperature. Milling introduces tool wear that subtly changes dimensions. Each failure looks different: a crown that rocks, an abutment that binds, or a model that won’t seat. The problem-driven approach demands naming the single most likely cause before reaching for a new tool.
Practical checks that stop surprises
Use short verifications after every handoff. Scan: confirm full arch overlap and a clear emergence profile. Scanbody placement: photograph, torque to spec, and capture at two angles. File export: open the STL in a second viewer to confirm no flipped normals. Print: log resin batch, layer thickness, and exposure time. Post-process: rinse until the rinse is clear, then use a calibrated UV curing unit. These checks take minutes and prevent hours of rework.
Material and machine choices that matter
Not all resins behave the same under load or after sterilization. Choose a class IIa or above dental resin for long-term provisional crowns; pick a high-strength, low-shrinkage resin for bite-bearing surgical guides. When a lab differentiates between printers, the question is repeatability, not headline speed. A stable light source, consistent vat chemistry, and a robust slicing profile produce predictability. Track a single machine’s output with simple control parts to detect drift over weeks.
Common pitfalls and how to fix them
Avoid these traps: 1) Trusting default printer profiles—tune exposure for your specific resin and geometry. 2) Skipping support strategy—too few supports sag, too many complicate finishing. 3) Overpolishing internal surfaces—removing marginal material causes gaps. 4) Neglecting ambient environment—temperature shifts change viscosity and cure. Fixes are straightforward: test prints, measured adjustments, and documenting every change in a shared protocol.

Workflow alterations that save cases
Small procedural edits yield big results. Introduce a “preflight” step where a technician verifies scan completeness and prints a diagnostic bar. Use a trial seating with a 3D-printed resin mock-up to confirm occlusion before fabricating final restorations. Move verification earlier: if an implant guide shows movement on the model, stop and resolve that model rather than proceeding to surgery. These habits reduce last-minute surprises.
Short checklist for consistent outcomes
Carry these items with you: calibrated scanner, labeled scanbodies and torque wrench, a validated peel-and-rinse protocol for the printer, a post-cure schedule, and a digital log of machine settings per resin batch. When a case goes wrong, the log tells the story faster than a blame session. That record is the base of trust between clinician and technician.
Reflections from practice
Years of chairside observation and lab collaboration teach a clear truth: technology is neutral; practice determines result. When teams slow down for a few intentional checks, fit becomes routine. When they don’t, expensive rework follows. The calm act of documenting a setting, photographing a scanbody, or printing a small test piece changes outcomes more than the newest feature on paper.
Quiet confidence in the solution
Problems solved with precise steps yield predictable, dignified care. A reliable digital implant workflow is not a single product; it’s disciplined technique, consistent materials, and machines maintained with attention. That balance, as practiced by many experienced labs and clinics, points toward methods and tools that actually deliver on the promise of digital dentistry—an approach reflected in work shared by partners such as SHINING 3D DENTAL, where design and process meet to make accurate implant care quietly dependable.