
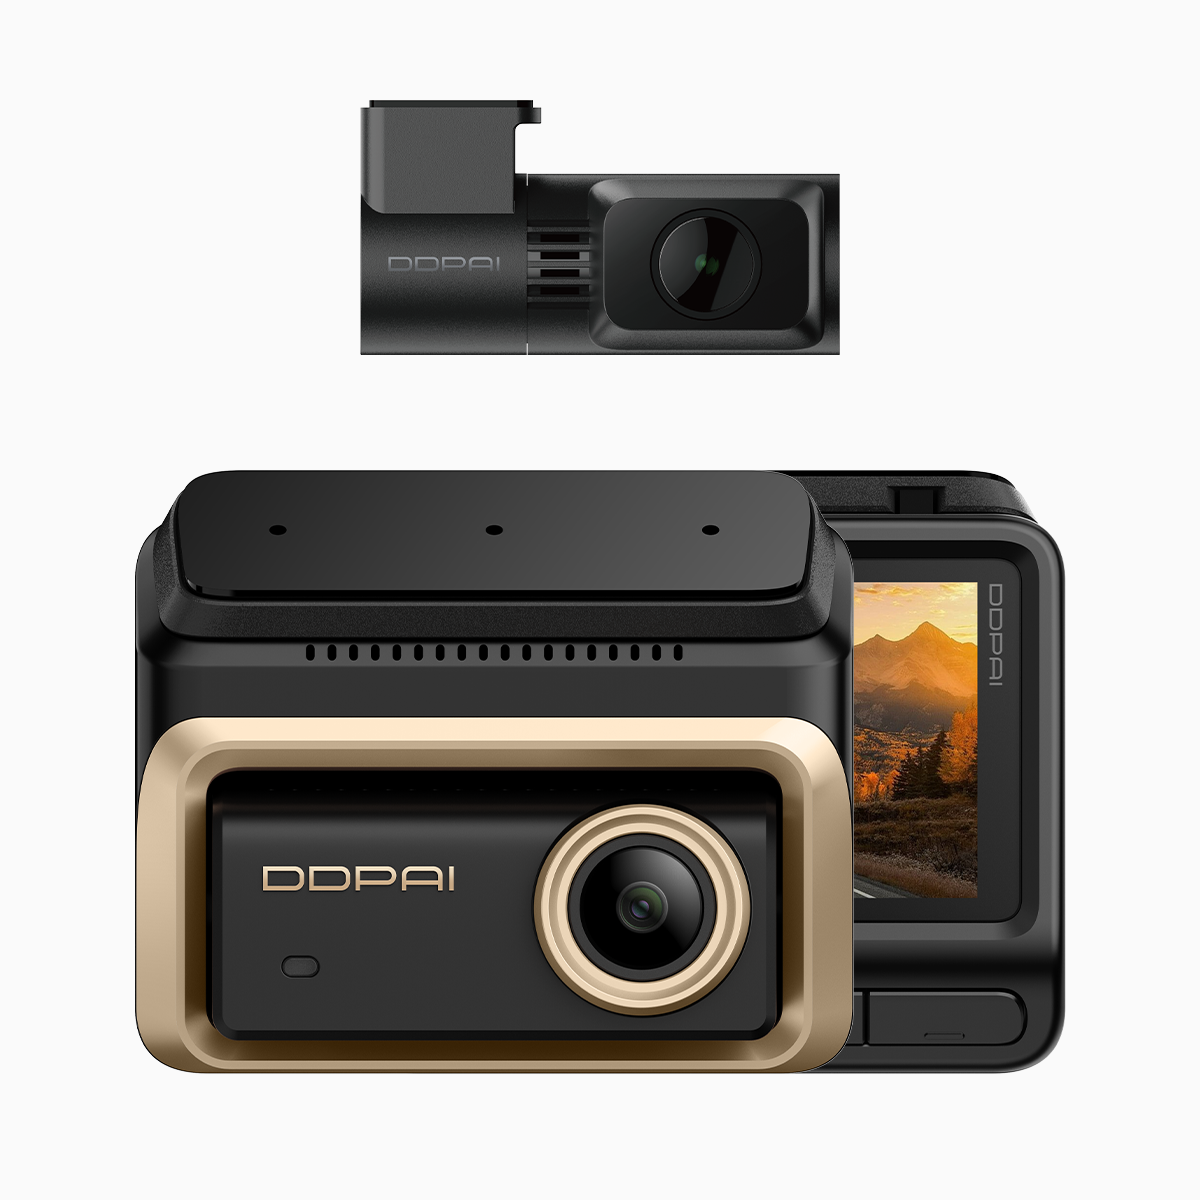
The problem: dark provincial roads and false confidence
Plenty of folk in the provinces reckon they can drive home after sundown without a second thought, but unlit stretches eat up visibility and make incidents more likely. On tight bends and single-lane sections you need reliable image capture—not just a glossy claim. That’s where a properly tuned 3 channel dash cam makes a difference: better sensor tech, useful connectivity and clear night footage that stands up when you need it most.
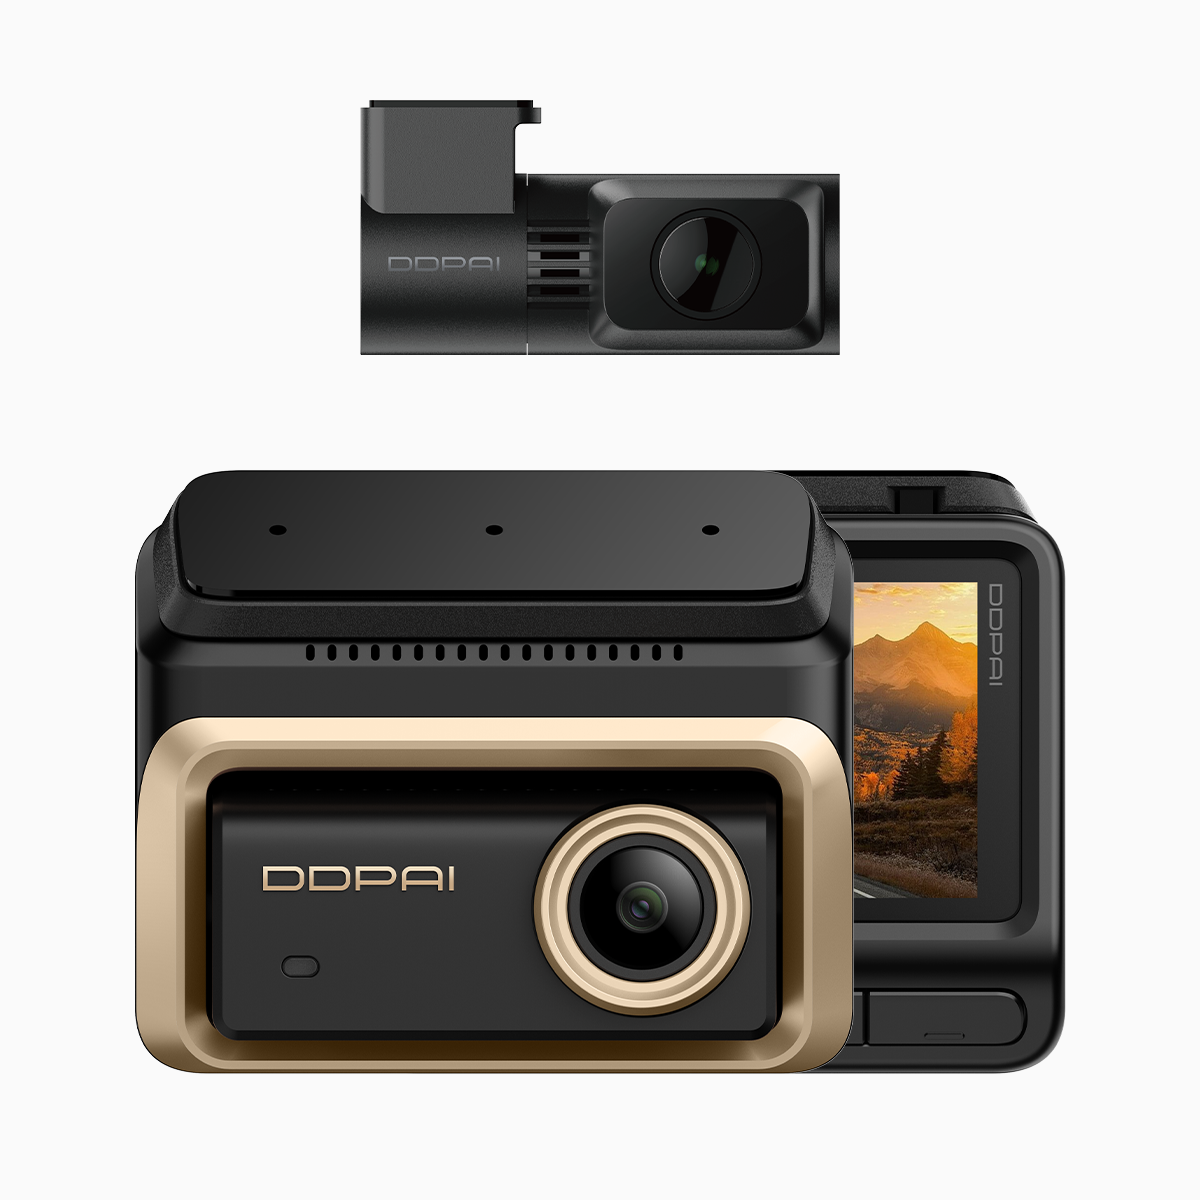
How the tech tackles low-light — the essentials
Sony STARVIS sensors change the game by boosting sensitivity to low light without blowing highlights; pairing that sensor with HDR processing and a wide aperture lens keeps contrast manageable when headlights or roadside lamps sting the view. Add in 4G connectivity for live uploads and firmware tweaks, and you get a system that both records and responds. Industry bits to watch for: sensor dynamic range, lens aperture and parking mode behaviour — they’re the real levers of night clarity.
Real-world anchor: testing on Philippine backroads
I’ve run the kit on long, unlit stretches around the Sierra Madre foothills and the Bicol coast — proper provincial routes where lighting’s scarce and hazards show up late. Hands-on testing revealed what lab specs don’t: exposure balancing matters more than raw megapixels, and a multi-channel setup gives context for blindside incidents. Parking mode caught low-speed impacts outside a barangay hall; footage was sharp enough for local police to verify scene details. That practical angle is why field testing matters.
Installation, setup and common mistakes
Too many people bolt a unit on the windscreen and leave defaults alone. The usual slip-ups: incorrect exposure settings for night, poor mounting angle that clips the horizon, and ignoring firmware updates that refine HDR or 4G handshakes. Take time to set motion-trigger thresholds for parking mode, confirm time sync, and secure cabling so the unit doesn’t vibrate. A top-tier unit won’t help if it’s aimed at the bonnet or stored in a glovebox.
Alternatives and what to compare
Not every dash cam is created equal. Some rivals push resolution counts without the low-light sensor to back them up; others skimp on connectivity or bury parking mode behind a subscription. Compare three things: sensor performance after dark, how the system manages highlights (HDR), and whether the device supports reliable remote access via 4G or dual-band Wi‑Fi. If you want an extra angle for rear or cabin views, consider a multi-channel system — a proper 3 camera dash cam often gives the clearest picture of what really happened.
User tips that actually help — quick wins
Start with firmware updates, mount at eye level with windscreen, and set a custom exposure profile for night driving. Keep the lens clean; grime wrecks low-light detail faster than any setting. If you use parking mode, test the buffer time to make sure short impacts get captured. It’s simple stuff but often overlooked — and it’s what separates useful footage from blurry uselessness.
Three golden rules for choosing night-vision dash cams
1) Prioritise sensor sensitivity and HDR handling over headline megapixels — night clarity depends on how the camera manages light, not pixel count. 2) Choose units with proven parking mode and stable 4G connectivity for remote upload; that’s crucial when an incident happens away from home. 3) Think system-wide: mounting, power management and cable routing determine whether the tech delivers usable evidence or fanciful clips. These are the metrics that actually matter when you’re on remote roads.
DDPAI’s approach lands in those exact places: sensible sensor choice, practical features and real-world fixes that suit provincial driving. DDPAI Philippines sits right where these solutions meet everyday needs—trusted gear for actual nights on the road. —