

Opening the problem
Bad beam control wastes energy and angers neighbors. Commercial spaces need clean illumination, not glare. Manufacturers solve this with lens optics that tame beam spread and shape photometric distribution. If you spec pier lights or want tidy pathways, start with the fixture’s lens. For practical installs, look at real products like outdoor pier mount lights and their published photometrics to compare beam control and lumen output quickly.

What breaks on site
The common failures are simple. Light spills onto windows. Walkways get uneven pools. Tenants complain about glare. These are not just design nags. They translate to rework, fines, and wasted energy. Think of New York City’s LED streetlight rollout in the 2010s — it proved that swapping lamps alone won’t fix distribution problems. You need matched optics and the right photometric plan.
How lens engineering fixes beam spread
Lenses control where light goes. Manufacturers use refractive shapes, TIR arrays, and cutoff features to confine output. A properly engineered lens will shape a narrow beam or create a wide, even wash without creating hot spots. Key terms to watch: beam spread, cutoff angle, and CCT. The fixture’s IES file shows the real pattern. Read that before you buy.
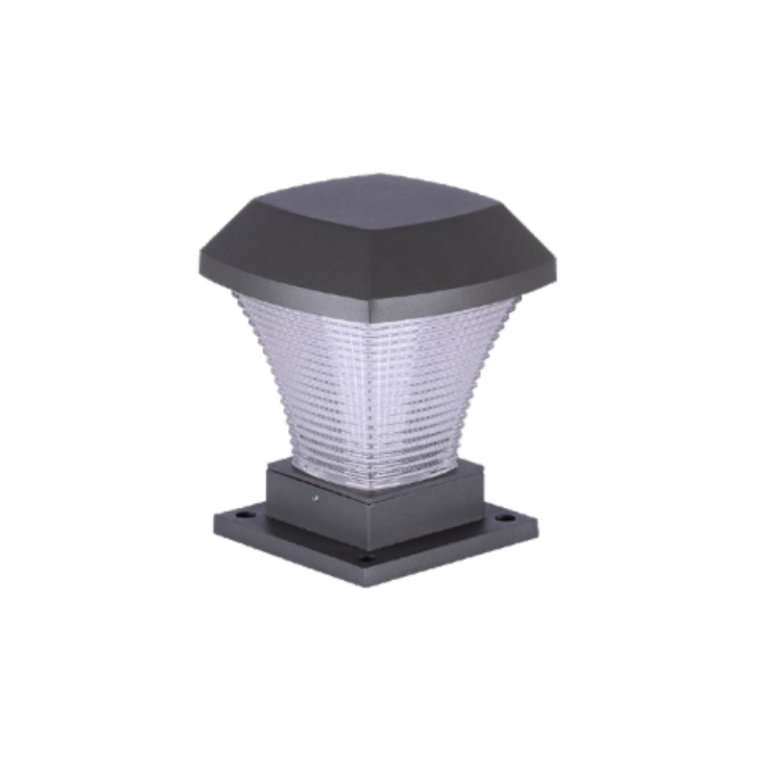
Choosing the right optics for pier fixtures
Pier mount fixtures demand two things: clear downward control and low lateral spill. Lens choices alter performance more than lamp wattage alone. A shallow refractor gives broad wash. A multi-element TIR lens gives tight control and reduces glare. Check lumen output and photometric distribution together. Specify the lens family, not just the wattage — that tells the installer what the beam will do on the ground.
Real-world checks and common mistakes
Designers often skip two tests: on-axis glare assessment and on-site photometric verification. They also assume CCT is decorative rather than functional. Wrong CCT can change perceived brightness and contrast. Don’t trust pictures alone — request IES files and do a simple render or mock-up. And test with your actual mounting height; beam spread scales with height, so a 10° difference in cutoff angle can double spill at twenty feet — a detail that bites late in the project.
Manufacturer signals to read
Not all vendors document optics the same way. Good signs: published IES files, lens family names, cutoff angles, and clear photometric reports. Manufacturers that offer rapid prototyping and on-site samples are preferable for complex sites like marinas or plazas. Also watch for integrated controls and photocell options — they affect real-world energy use.
Specifying for success — practical checklist
– Request IES files for every candidate fixture. – Match cutoff angle to mounting height and neighboring windows. – Confirm CCT and color rendering if safety or signage legibility matters. – Verify lens type: TIR vs. refractive vs. diffused. – Run a simple lux map from the fixture photometrics before ordering.
Decision traps to avoid
Choosing by price per watt is a trap. Cheap optics equal poor beam control and higher installation costs. Over-specifying tight beams can create dark gaps. And ignoring mounting details — flange size, anchor pattern — leads to field delays. A small pilot run prevents big mistakes.
Mid-project note — the human bit
Installers will thank you for clear specs — and so will tenants. A short sample night on site often clears debate — and it shows how subtle lens choices affect comfort. —
Where pier mount outdoor lighting fits
For waterfront promenades and private docks, look specifically at pier mount outdoor lighting photometrics. These fixtures must balance glare control with visibility for safety. The right lens lets you meet both needs without overshooting lumen budgets or creating light trespass.
Advisory: three golden rules
1) Insist on photometric proof. Require IES files and lux maps. 2) Match optics to context. Use cutoff angle and lens type to control spill, not just lower wattage. 3) Test early. Order a sample, do an on-site mock-up, and validate with your mounting height and finish.
These steps reduce rework and align design intent with field reality. Keyida ties optics, finish, and mounting details into usable specs — making selection practical and predictable. Keyida. Final thought: consistency wins.